RIIFO MCLP PEX/AL/PEX Pipe
At the heart of every multilayer system is a simple idea: take the strength of metal pipework and the workability of plastic, and bond them into a single wall. RIIFO's B1 multilayer pipe does exactly that, sandwiching a welded aluminium layer between inner and outer skins of cross-linked polyethylene, which is precisely what the name PEX/AL/PEX describes: a layer of aluminium (AL) between two layers of cross-linked polyethylene (PEX). The aluminium gives the pipe its shape retention and forms a total barrier against oxygen and light, protecting the water inside, while the PEX layers shrug off corrosion and scale.
Whichever format you choose, the underlying pipe is the same. Every product in this category is manufactured to ISO 21003, WRAS approved for use with UK drinking water, rated to 10 bar across a working range of -40°C to +95°C, and built for a service life of 50 years.
The range spans straight lengths, flexible coils, and pre-insulated coils in 13mm and 20mm insulation thicknesses, all designed for use with the RIIFO MLCP F18 press-fit fittings, valves and installation tools.
Dimensions & Ratings
- Size Range: 16mm to 75mm
- Pressure Rating: Up to 10 bar
- Operating Temperature: -40°C to +95°C
- Standards: EN ISO 21003
| Diameter (mm) | Wall Thickness (mm) | Uninsulated Lengths (m) | 13mm Pre-Insulated Lengths (m) | 20mm Pre-Insulated Lengths (m) |
| 16 | 2.0 | 3, 50, 100 | 50, 100 | 50 |
| 20 | 2.0 | 3, 50, 100 | 50 | 50 |
| 25 | 2.5 | 3, 50 | 50, 80 | 50 |
| 32 | 3.0 | 3, 50 | 25 | - |
| 40 | 4.0 | 5 | - | - |
| 50 | 5.0 | 5 | - | - |
| 63 | 6.0 | 5 | - | - |
| 75 | 7.5 | 5 | - | - |
Approvals



Straight Lengths
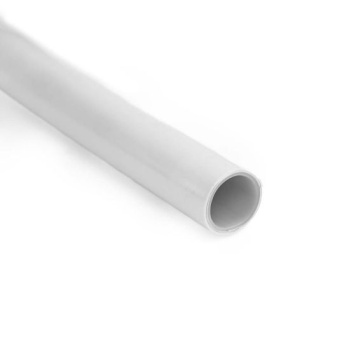
The format of choice for larger diameters and exposed pipework. Straight lengths cover the complete 16mm to 75mm range, supplied in 3m lengths up to 32mm and 5m lengths from 40mm upwards, where coiling becomes impractical. Straight pipe is also recommended wherever runs are surface-mounted to walls or ceilings on brackets. Because the pipe has never been wound into a coil, it carries no curve memory, so it sits flat and holds a true line between fixings rather than bowing or sagging as coiled pipe can once its natural curl reasserts itself. The result is pipework that stays level along its run and gives the tidiest visible finish on installations where the pipe remains on show.
Pipe Coils
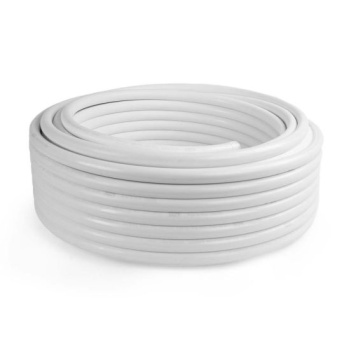
Where the route twists, rises, or simply goes a long way, coils come into their own. Supplied in 50m rolls across the 16mm to 32mm sizes, coiled pipe allows for continuous pipe runs through joists, voids, and screeds using far fewer joints than rigid alternatives. Fewer joints benefit an installation in several ways: assembly time and fitting costs come down, flow stays smoother without the turbulence connections introduce, and long-term reliability improves, since an unbroken pipe run has fewer points needing inspection over its life. Formed bends can be made along the way using the RIIFO bending springs, keeping direction changes smooth without reaching for an elbow every time.
13mm Pre-Insulated Coils
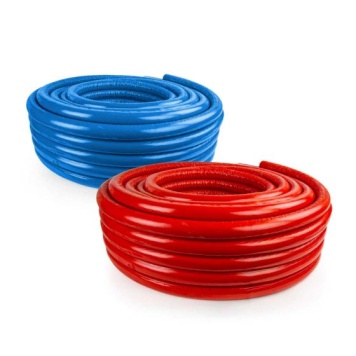
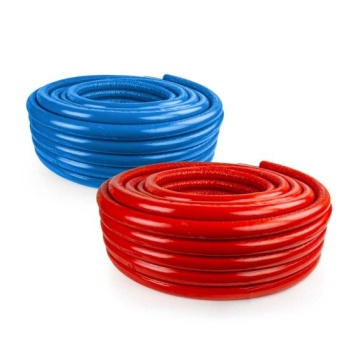
For projects where the pipework would otherwise need lagging, this format arrives with a 13mm thick closed cell foam jacket already factory fitted around the multilayer core. The insulation carries a Class B fire rating, resists moisture take-up, and dampens sound and vibration along the run. Coils come jacketed in red or blue across the 16mm to 32mm pipe sizes, so hot and cold lines identify themselves at a glance during first fix.
20mm Pre-Insulated Coils
The heavyweight insulation option, wrapping the same multilayer core in a 20mm thick foam jacket for installations where minimising heat loss takes priority over saving space, such as longer distribution runs or pipework passing through unheated areas. The jacket shares the Class B fire rating, low water absorption, and red or blue colour coding of its slimmer counterpart, and is available on pipe sizes from 16mm to 25mm.
Which Pipe Do I Need?
For most installations, the decision follows the pipework itself. Choose straight lengths for diameters of 40mm and above, and for any run that will be surface-mounted and on show. Choose coils where flexibility and continuous runs matter most, typically first fix pipework threading through the fabric of a building. Choose a pre-insulated coil wherever the pipe would otherwise need lagging on site, picking 13mm insulation as the general purpose option and 20mm where heat loss is the overriding concern and there is room for the larger jacket.
Why Insulated Pipe is Needed
Insulation is one of the simplest ways to improve how a pipe system performs over its lifetime, and in many situations, it is not optional. Under Part L of the Building Regulations, hot water and heating pipework in new dwellings must be insulated wherever it runs outside the heated living space, along with primary circulation pipes, secondary circulation runs, and the first metre of pipe connected to a hot water cylinder. The obligation extends to existing homes too, as replacing a boiler or cylinder brings a requirement to insulate any accessible pipes at the same time. Cold water pipes carry their own rule under the Water Regulations, needing protection against freezing wherever they pass through areas at risk, such as lofts, garages, and unheated voids.
Every metre of bare pipe carrying hot water sheds heat into the space around it, so the boiler or heat pump works harder to deliver the same temperature at the tap, and that wasted energy accumulates into real running costs over the life of a system. Insulation slows this loss, helps hot water arrive at its destination faster, and protects vulnerable cold runs from the burst pipes and water damage that follow a hard frost. A closed-cell foam jacket also brings quieter pipework, damping the sound and vibration of water moving through a building.
Downloads

If you require any further information, our excellent customer service team is here to help so please call us on 01794 835835.