Login / Register
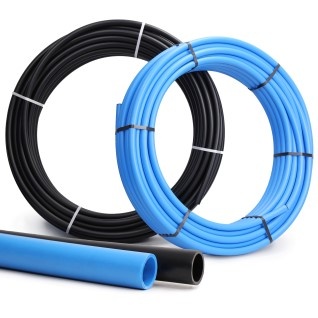
Plasson
Plasson, a renowned leader in the industry, offers a variety of fitting types designed to suit various applications, ensuring high performance and durability. Whether you're handling simple residential water systems or complex industrial pipelines, our Plasson Fittings are engineered to provide secure and efficient solutions.
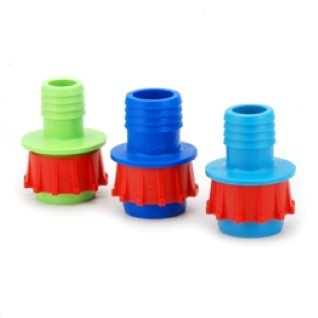
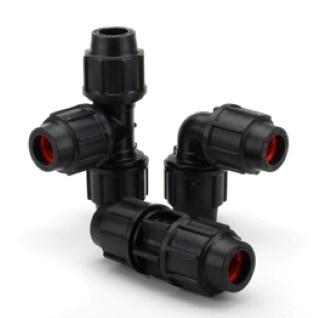
- Pushfit Fittings: Ideal for quick and easy installations without the need for tools. Our Plasson pushfit fittings are perfect for domestic water applications, providing a reliable, watertight seal.
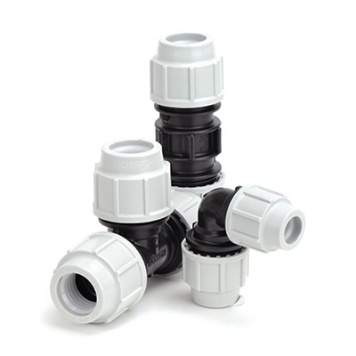
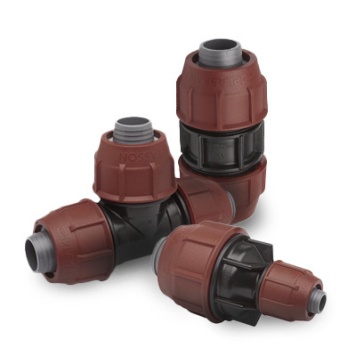
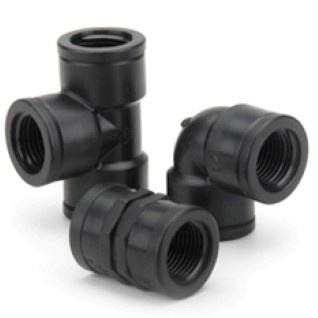
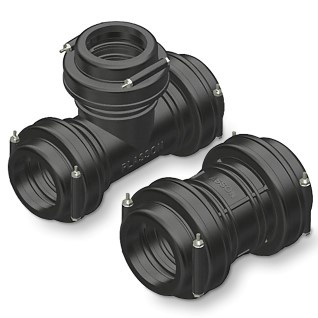
- Compression Fittings: Highly popular for their robustness and ease of use, Plasson compression fittings are suitable for MDPE and HDPE pipes, offering excellent pressure resistance in water supply systems.
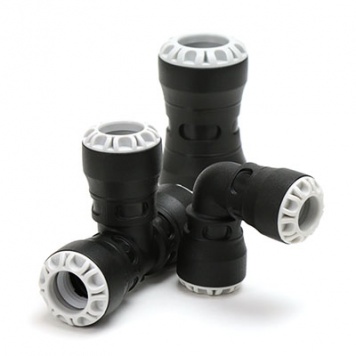
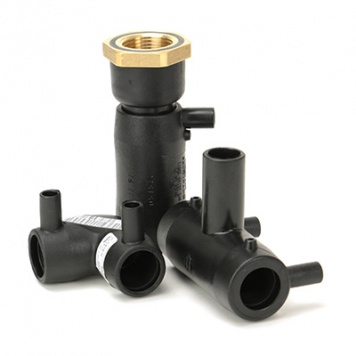
- Electrofusion Fittings: Designed for strong and reliable jointing, Plasson electrofusion fittings use electric currents to fuse fittings onto pipes, ideal for both water and gas systems in residential and commercial environments.
- Barrier Fittings: Essential for ensuring the safety of potable water by preventing the ingress of contaminants. Plasson barrier fittings are used in areas where soil contamination is present.
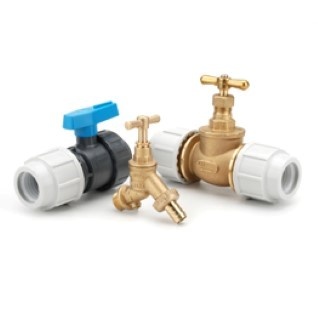
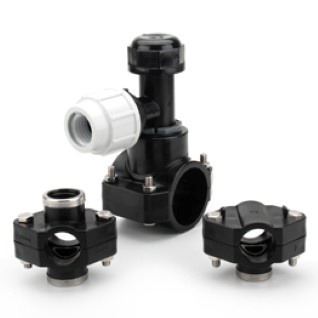
- Valves & Taps: From simple taps to sophisticated valve systems, our range provides precise flow control in various applications, ensuring efficiency and reliability.
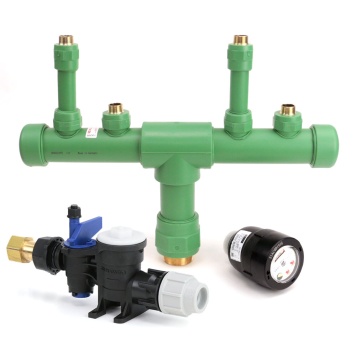
- Manifolds & Metering: Optimise your water distribution and monitoring with our selection of manifolds and metering devices, designed for accuracy and ease of use.
- Saddles & Tappers: Perfect for creating supplementary outlets on existing pipelines, our saddles and tappers are designed for minimal disruption and maximum efficiency.
How To Install Plasson Compression Fittings
Installing Plasson Compression Fittings is a straightforward process designed for durability and a secure fit. Here’s a step-by-step guide to help you ensure a perfect installation every time:
- Prepare the Pipe:
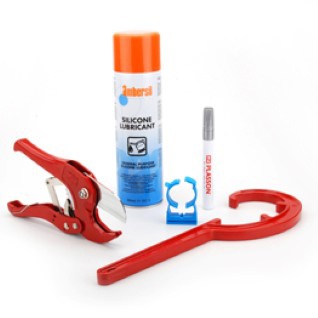
- For pipes with diameters of 40mm and above, chamfer the end of the pipe and apply a silicone-based lubricant to ease insertion.
- For metric sizes 20mm to 63mm, insert the liner into the pipe.
- Loosen the Nut:
- Slacken the nut on the fitting until half the thread is visible.
- Insert the Pipe:
- Push the pipe through the loosened nut, ensuring it passes through the split ring and makes contact with the ‘O’ ring inside the fitting body.
- For pipes from 20mm to 32mm, you can tighten the nut by hand.
- For pipes 40mm and larger, use a Plasson wrench to secure the nut.
- Tightening the Fittings:
- For fittings sized 160mm:
- Remove the nuts and bolts and separate the shell halves.
- Place the exposed sleeve and ‘O’ ring over the pipe end and reassemble the shells around the pipe and fitting body.
- Securely fasten the bolts and nuts until the shells are tightly joined.
- For standard sizes up to 110mm:
- After inserting the pipe into the fitting body up to the interior stop, pull the ‘O’ ring and collars close to the body.
- Tighten the nut using a Plasson wrench until the ‘O’ ring and collars are fully inserted into the fitting.
- For rechecks, ensure the nut is tightened and secure.
- For fittings sized 160mm:
- Final Adjustments:
- After installation, it’s crucial to check that all connections are tight and secure to prevent leaks.
- For sizes 125mm, draw the nut, collars, and ‘O’ ring back over the pipe end to approximately 250mm before placing the split ring in position and securing it tightly.
By following these steps, you can achieve a reliable and efficient installation of Plasson compression fittings, suitable for a wide range of piping applications. Always refer to Plasson's specific instructions for different sizes and types of fittings to ensure optimal performance and safety.
How To Install Plasson Electrofusion Fittings
Installing Plasson ElectroFusion fittings requires precision and adherence to specific steps to ensure a secure and effective joint. Here’s a straightforward guide to help you through the process:
- Equipment and Preparation:
- Ensure all necessary equipment is present and properly calibrated, including the ElectroFusion control box, power generator, and proper tooling for pipe preparation.
- Pipe Preparation:
- Cutting: Ensure the pipe is cut square. Use an approved pipe cutter to achieve a clean and even cut.
- Marking and Scraping: Mark the required insertion depth on the pipe. Scrape the pipe around this mark to remove the oxidised layer using a mechanical scraper for consistency.
- Cleaning: Wipe the scraped area with an alcohol-saturated wipe to remove any residue or contaminants. Do not touch the scraped area afterwards.
- Clamping and Alignment:
- Align and clamp the pipe and fitting together to prevent any movement during the welding process. This is crucial to maintain the integrity of the fusion.
- Welding Process:
- Connect the ElectroFusion control box to the power generator and stabilise the voltage.
- Attach the welding leads from the control box to the terminals on the fitting.
- Input the welding parameters either by scanning the barcode on the fitting with the control box's scanner or by manually entering the data.
- Start the welding process ensuring the control box settings match the requirements of the fitting.
- Cooling Time:
- After welding, do not disturb the joint. Allow it to cool for the specified time as indicated on the fitting’s barcode label. This step is crucial to ensure the joint solidifies correctly and gains full strength.
- Inspection:
- Check the joint for any visible signs of improper fusion like misalignment or plastic extrusion from the fitting.
- Verify that the melt indicator pin, if present, has risen, which suggests that welding occurred, although it does not confirm the quality of the weld.
- Final Checks:
- Perform a pressure test after the appropriate multiple of the cooling time has passed to ensure the integrity of the weld.
For further detailed visual guidance, refer to the full instructional video linked at the bottom of this guide.
How To Install Plasson Push Fit Fittings
Plasson Push Fit Fittings provide a simple and effective way to connect piping systems securely and quickly, without the need for specialised tools. Here’s how to install these fittings properly:
- Prepare the Pipe:
- Ensure the pipe end is cut straight and free from burrs. A clean, smooth cut helps ensure a secure fit.
- Measure and mark the insertion depth on the pipe to ensure full insertion into the fitting.
- Check the Fitting:
- Inspect the push fit fitting to ensure it’s free from damage and that the O-ring and grips inside are intact and properly positioned
- Insert the Pipe:
- Insert the pipe into the fitting up to the marked depth. Push firmly until the pipe reaches the stop inside the fitting.
- Plasson push fit fittings have an indicator that shows when the pipe is fully inserted.
- Secure the Connection:
- Gently pull on the pipe and fitting to ensure the connection has been made correctly and securely.
- Test the Installation:
- Once installed, it's important to check the system for leaks. You can do this under normal operating pressures.
- Adjustments or Removal:
- To adjust or remove the pipe, Plasson push fit fittings feature a release mechanism that allows you to release the pipe by using a special wrench.
- Final Inspection:
- Conduct a final inspection to ensure all fittings are properly engaged and that there are no signs of leakage.
For detailed visual instructions, please refer to the full installation video linked below.
If you require any further information, our excellent customer service team is here to help so please call us on 01794 835835.